Contact Us

Looking for a Product? Have any questions? Reach out to Us. We will get back to you within a day!


California
United States

+1 (510) 899-1340

Service AI specializes in providing accessories and spare parts for laboratory instrumentation in a niche area of the market. Our business strategy focuses on meeting the unique needs and requirements of popular equipment that is widely used but no longer manufactured or supported by its original manufacturers.   With over 25 years of experience in supporting scientists with laboratory instrumentation and spare parts, our knowledgeable and dedicated team takes pride in ensuring that every recertified or new instrument and spare part we supply is fully tested and certified by a manufacturer-trained engineer. We guarantee that our products will work and provide proof of performance documentation when applicable.  

We only supply refurbished laboratory instrumentation that our team of experts are trained and certified to work on, ensuring that we deliver high-quality instruments and reliable service to our customers.

At Service AI, we understand the importance of safe shipping and delivery, and we take utmost care in ensuring that our products are delivered safely to our clients. Additionally, we offer professional installation services upon request.

Lab Pundit

Service AI offers a comprehensive range of spare parts and fully certified and rigorously tested laboratory instruments, accompanied by detailed proof of performance documentation.

Explore Ask LabPundit for answers to commonly asked questions about our laboratory equipment. Should you have further inquiries, please don't hesitate to contact us via email.

Unlocking Research Potential with Re-certified Lab Instruments

Service AI

In the ever-evolving landscape of scientific research, universities are continually challenged to maintain cutting-edge laboratories while managing tight budgets. Re-certified laboratory instruments present a strategic solution, offering both affordability and high performance.

Read More

Troubleshooting Vacuum Issues in Beckman Coulter Ultracentrifuges: A Comprehensive Guide

Service AI

In an ultracentrifuge, it is crucial to remove air molecules from the 'leak-tight' chamber. To achieve this, Beckman uses a mechanical vacuum pump and diffusion pump in combination. However, in high-performance and high-speed model centrifuges, only a vacuum pump is necessary.

Mechanical vacuum pumps, also known as roughing pumps or forepumps, are the only types that can operate against atmospheric backpressure. The most commonly used mechanical pump is the vane type.

The actual removal of air molecules occurs during four stages of the pumping cycle: intake, transfer, compression, and exhaust.

Vacuum system in an ultracentrifuge

Beckman Coulter ultracentrifuges use vacuum pumps that are characterized by the following features:

 • Two-stage, oil-sealed, rotary vane type

• Maximum vacuum of 20 microns at the inlet

• Pump speed of around 7 cubic feet per minute (cfm)

• Direct drive design with motor in-line with the pump

• Anti-suckback system included

• Mechanical oil stirrer system

• Gas ballast to allow pumping of condensable vapors

• Inlet, outlet, and muffler connections

• Sight glass to indicate oil level

• Easy disassembly into major parts for cleaning and repair

• Motors that can be wired for different voltage requirements

Beckman Coulter ultracentrifuge systems utilize a combination of a diffusion pump and a vacuum pump in series to achieve high levels of vacuum. However, the diffusion pump alone is not capable of exhausting to the atmosphere. As a result, it is exclusively employed in the ultracentrifuge models.

As shown in the diagram below, the Diffusion Pump Assembly consists of the following parts:

• Pump body: a steel cylinder with an oil reservoir at the base of the pump

• External cooling jacket or fan assembly attached to the pump body

• Jet assembly: a hollow assembly with nozzle(s)

• Cold Cap assembly attached to the inlet

• Inlet and exhaust outlet

• Electrical heater assembly

• Low vapor pressure oil (Use only the Beckman Coulter recommended silicone diffusion pump oil.)

Schematic of a diffusion pump

During normal operation of a Beckman Coulter ultracentrifuge, the vacuum pump runs first. The diffusion pump fan assembly operates. The oil reservoir heater is activated depending on the vacuum level, heating the oil until it boils. The hot oil vapor is then released through the jet nozzles, expanding as it moves from high to low pressure. As gas molecules (air and water) enter the diffusion pump inlet, they collide with the heavy oil vapor stream and are directed towards the pump's exhaust outlet by the vacuum pump. The supersonic vapor jet of diffusion pump oil then strikes the cooled diffusion pump wall, causing the oil vapor to condense and flow back into the oil reservoir to begin the cycle anew.

To achieve the necessary vacuum conditions in ultracentrifuges, the diffusion pump must be used in series with a vacuum pump. The diffusion pump cannot be exposed to the atmosphere while the oil is hot due to potential oil degradation and vacuum system contamination.

The lowest pressure achievable in the ultracentrifuge vacuum systems is partly limited by the presence of oil vapor from the diffusion pump. This occurs due to "backstreaming" of oil vapor molecules from the diffusion pump nozzle towards the inlet, as well as "back migration" caused by re-evaporation of oil at the top of the pump body.

The amount of backstreaming can be reduced by optimizing the pump nozzle design and using cold caps, traps, or baffles above the pump body. Controlling the temperature of the pump housing and the baffle system can also reduce back migration.

While this backstreaming and back migration is not a significant issue for typical preparative ultracentrifuges, the oil vapor can be problematic for the optical systems of analytical ultracentrifuges.

The diffusion pump is a low-maintenance component, with no mechanical moving parts. However, it is important to perform regular maintenance to ensure optimal performance. Here are the recommended maintenance tasks:

Check the diffusion pump oil regularly and change it if it appears light to dark brown in color.

  1. Remove the jet assembly once a year for inspection and cleaning.

  2. Inspect the oil heater and check its resistance.

  3. Inspect and clean the cooling fan and verify its operation.

Here are some troubleshooting tips for the diffusion pump: 

Oil Heater Assembly - If the heater is burned out, the system will only achieve a normal mechanical pump vacuum level (less than 100 microns). The reason for heater failure may be due to loss of oil, hours of operation, or loss of cooling.

Loss of Fluid - Normally, loss of fluid is due to a leak in the vacuum system.

Cooling Fan Malfunction - This causes a loss of diffusion pump cylinder cooling.

Loss of Vacuum - The system will initially achieve the correct vacuum. As the pump cylinder heats up, the vapor no longer condenses, and loss of vacuum occurs.

Diffusion Pump Fluid Contamination - If the drive oil or liquid from the rotor spills into the diffusion pump, it may cause the pump to lose effectiveness.

PMC Check - Check for the correct oil level, heater function, and air flow.

Normal Loss of Vacuum - With a chamber vacuum of 150 microns or better, it is normal to see a slight loss of vacuum immediately after turning on the diffusion pump heater.

Vacuum System Troubleshooting: Finding and Fixing Leaks:

  1. Check for obvious issues such as cracked hoses, tubing, and foreign material on "o" rings.

  2. Confirm the mechanical pump is working properly by measuring the vacuum level at the pump inlet, which should be less than 20 microns. Replace vacuum pump oil on a regular basis.

  3. Be aware that removing moisture from a vacuum system can take time, and during this period the vacuum level will remain at approximately 500 microns.

  4. For larger leaks, turn off power and listen for a hissing sound to detect the source of the leak.

  5. Try to isolate sections of the vacuum system to narrow down potential leak locations.

  6. Use acetone to identify leaks: if you're able to obtain a vacuum of 300 microns or less, squirt acetone on possible leak areas. The vacuum indicator will exhibit a loss of vacuum at the area where the leak is present.

  7. Ensure the diffusion pump is functional by following proper maintenance and troubleshooting procedures.

Procedure to change Vacuum Pump Oil used in Beckman Optima ultracentrifuges and Avanti J30I centrifuges

Service AI

Use only “Beckman” Direct Drive Vacuum Pump Oil (Beckman PN. 341661 and Beckman PN. 392760) or oil that is recommended by vacuum pump manufacturer.

Read More

Upgrading legacy laboratory equipment from Windows XP

Service AI

Are you struggling with migrating your expensive lab equipment from XP or Windows 7 OS to the latest Microsoft Windows 10 or 11 OS platform? This is a common concern among lab users and scientists, as many laboratories have expensive analysis equipment that relies on legacy software compatible with older Microsoft operating systems. Unfortunately, many of these instruments lack the necessary hardware drivers to operate seamlessly on the current versions of Windows OS, and some OEMs have dropped support for these workhorse devices, even though they are still in excellent working condition and beloved by their users. This presents a challenging situation, as replacing or upgrading these devices could cost millions of dollars. Additionally, these devices are often connected to the lab's network, and scientists cannot disconnect them as they rely on them to extract data to Excel worksheets or databases.

However, there is good news for those facing this dilemma. Service AI has successfully configured Beckman Coulter DU-800 spectrophotometers with software that was originally designed to work on Windows XP, to function securely on Windows 10, 64-bit OS platform. So if you are experiencing similar issues in your lab, there may be a solution to migrate your equipment to the latest Windows operating system.

Please see details at the link below for more details: DU-800 on Windows 10, 64-bit OS platform and DU-800 on Windows 11 PRO Space Saving System

website: www.serviceai.us ; email: support@serviceai.us

Is your favorite laboratory instrument with legacy software running on obsolete Windows OS?

Service AI

Would you like your laboratory instrumentation running with Legacy Software configured to work on the current and most current version of Windows 10 or Windows 11 Professional OS?

If you are currently using a popular laboratory equipment working with legacy software on an older Microsoft Windows® Operating System (viz. Windows XP, Windows 7 or Windows 8), your IT Department may insist that you upgrade to the most current version of OS because of security risks.

If that is the case, Service AI may be able to offer you a solution. We have the ability and expertise to configure and operate many popular laboratory instrumentation that work with legacy software on Microsoft 64-Bit Windows 10 / Windows 11 Pro OS.

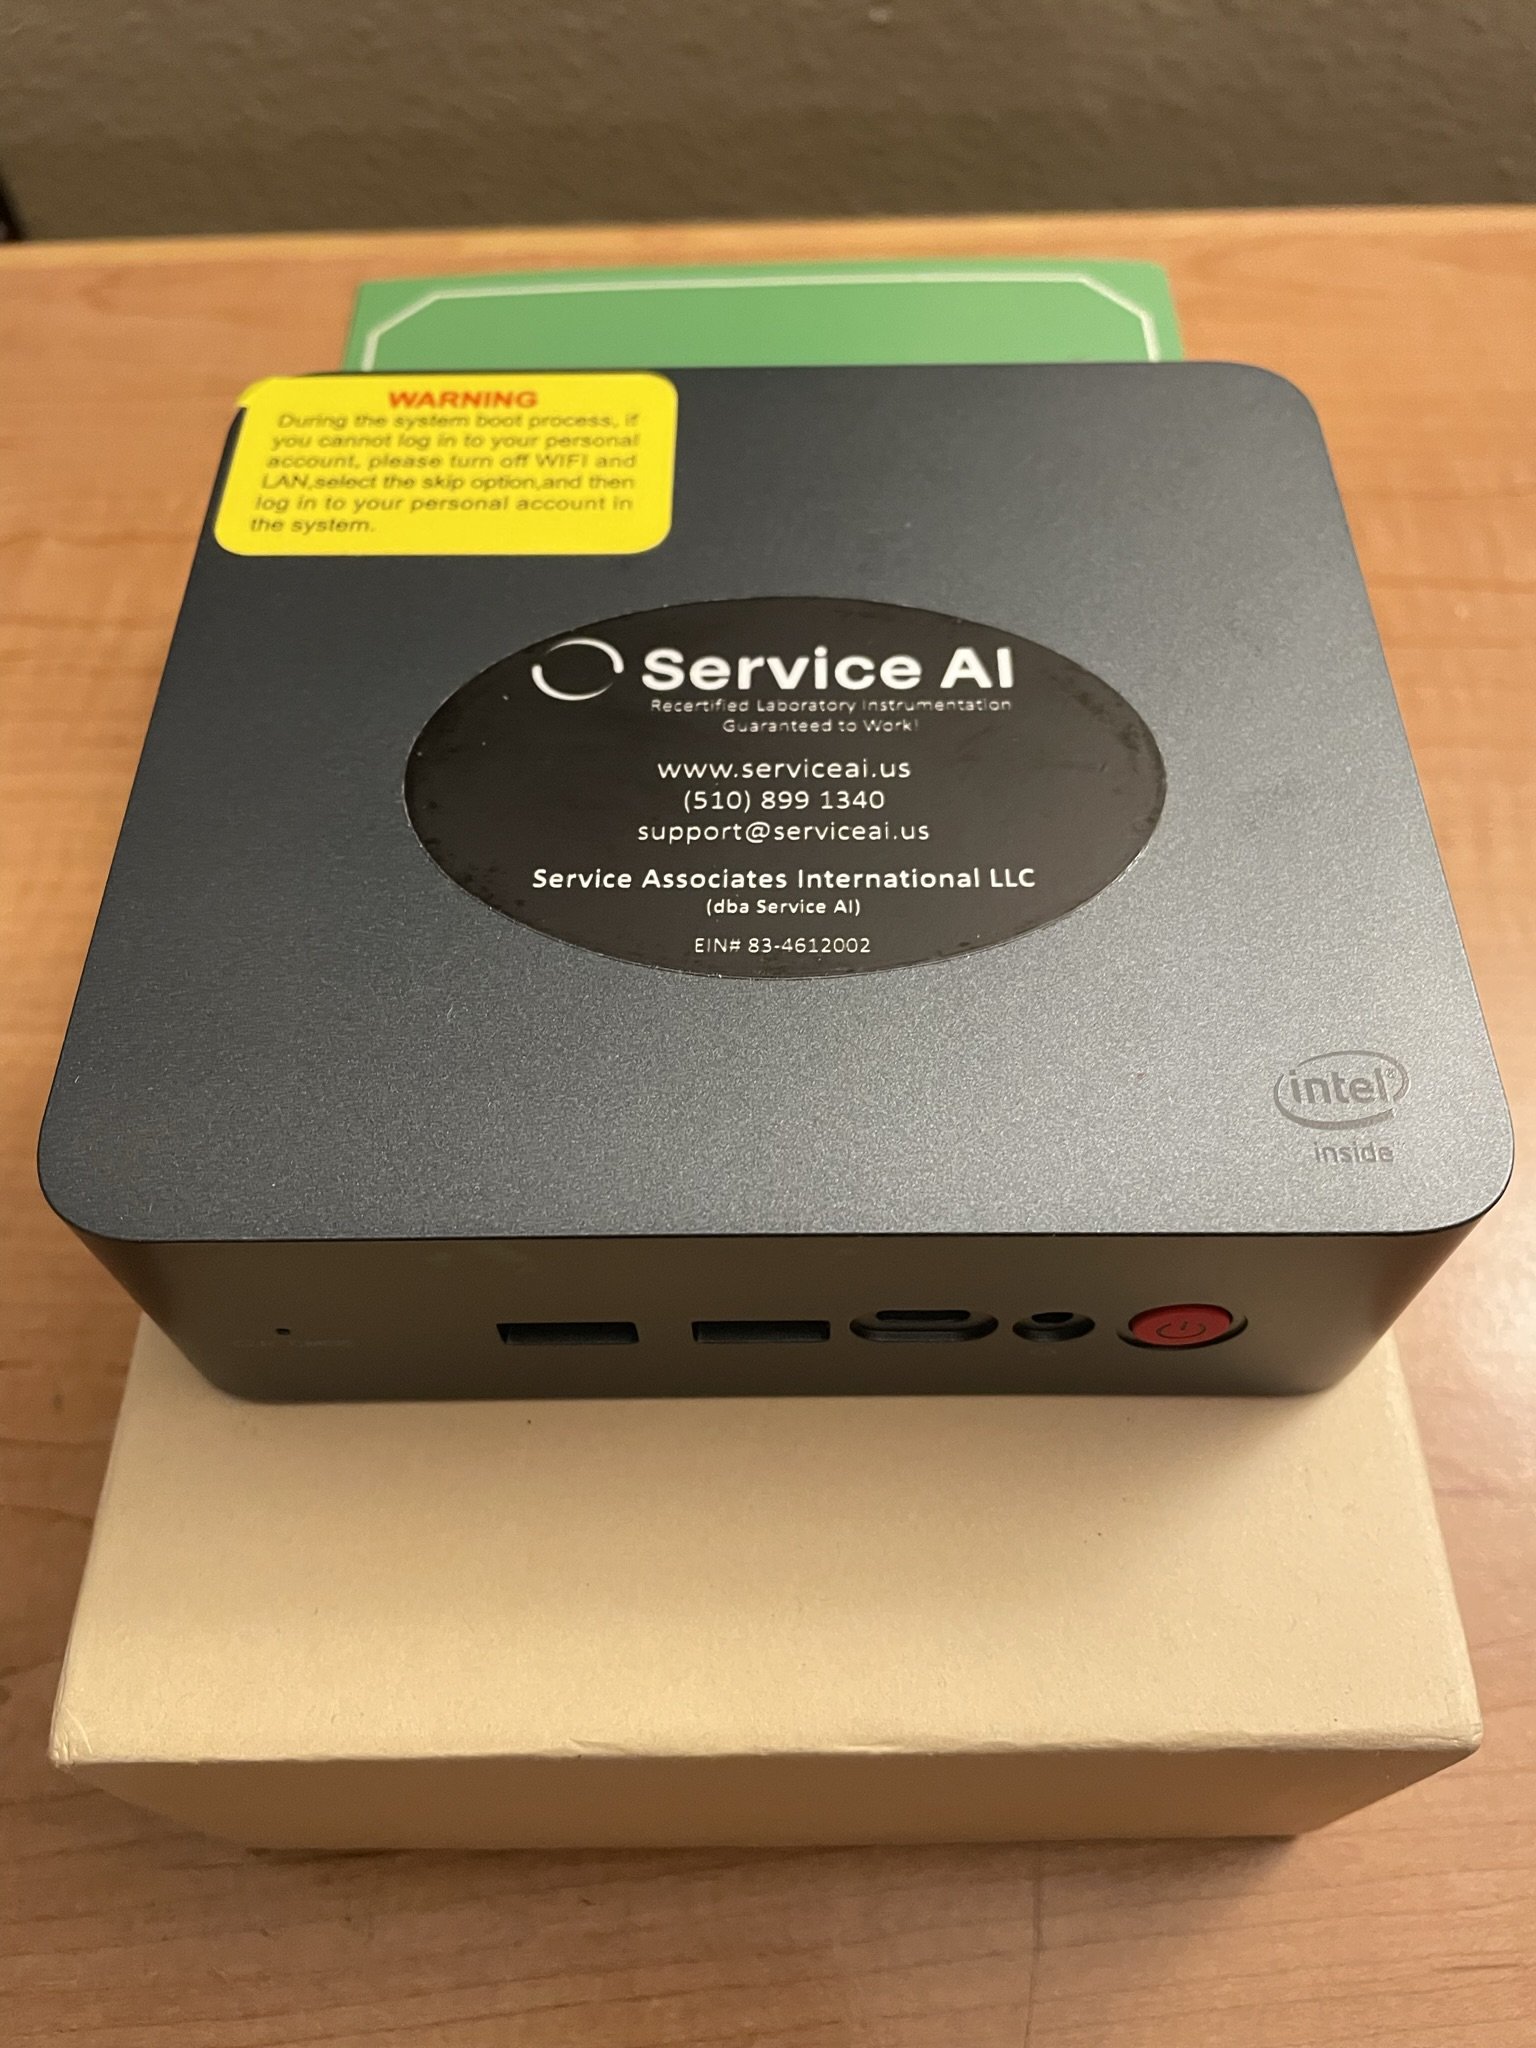
When lab space is a crunch, we provide a mini pc that will minimize the footprint!

Beckman LS6500: A Troubleshooting Guide for Elevator Jams

Service AI

Are you experiencing an issue with your Beckman LS6500 where the rack, especially the mini (blue) rack, is not stopping at the correct position, thereby causing the elevator to jam up?

This can occur when the instrument incorrectly identifies the mini (blue) rack as a maxi (standard white) rack and attempts to move the vial up into the detector.

When such a problem arises, it is most likely that the mini rack is not being correctly identified by the Mini/Maxi sensor board.

The Mini/Maxi sensor board (Beckman P/N. 500726) is only installed on LS6500 models that have the versa-rack option. It is very unlikely that your LS6500 counter does not have this option.

Most often, when this sensor board malfunctions, it fails to recognize the mini rack, which causes the instrument to misalign the rack, thereby causing the elevator to jam up. Under such circumstances, users will also notice that they do not experience elevator jam issues when they are using Maxi (standard white) racks on the instrument.

Securing Your Beckman LS6500 for Relocation: A Guide to Removing the Lead Assembly Safely!

Service AI

When preparing to securely relocate your Beckman LS6500, it's essential to dismantle the lead assembly (Beckman PN. 500670) — a set of eight lead segments — from the detector assembly first. Nestled within the upper compartment of the LS6500, the lead assembly contributes to a top-heavy configuration, which could make the instrument unstable during a move. Carefully removing these components is a critical measure to protect the delicate photomultiplier tubes (PMTs) that are integral to the detector assembly.

LS6500 detector assembly

About LS6500 Racks

Service AI

The Beckman LS6500 uses racks for holding sample vials for counting. There are mainly two types of racks available for counting samples.

The standard (White) rack hold 12 standard size vials per rack. A maximum of 28 racks can be loaded on to the LS6500 work deck built with a robust rack sample changer at a time, which works out to 336 standard vials at a time.

The miniature (Blue) rack hold 18 miniature vials per rack. The user can load a maximum of 36 racks at a time, which works out to (18 x36=648) miniature vials at a time.

Another type of rack, which is rarely used and seen in the field is the Bio-Vial (Green) Rack. These racks hold 18 Bio-Vials and can only be used on an instrument that uses miniature racks.

A majority of LS6500 comes with the versa rack option installed in it that allows use of standard (White) racks as well as the miniature (blue and green) racks. If the LS6500 does not have the versa-rack option available, it can take only standard racks.

In an LS6500 that has the Versa-rack option available, you will find a separate Mini/Maxi sensor PC board (PN. 500726) mounted on the right rear changer panel of the instrument. This board will be mounted to the right side of the rack reader board (PN. 500728)

 About Color Coded Racks:

The LS6500 also comes with a red rack and yellow rack for use as a Halt Rack and Interrupt rack respectively. The color is for easy recognition ONLY. The user has to use these rack with the correct Command card to work!

What does it mean when the Beckman Coulter Optima ultracentrifuge flags diagnostic d63 drive error?

Service AI

If your Beckman Coulter Optima ultracentrifuge flags d63; it is an indication that the drive thermostat mounted on the drive has overheated (causing an open circuit) during normal run, or that it did not cool down and get deactivated after a 5 minute waiting period on power up. When a power fail diagnostic occurs during a normal run, the ultracentrifuge will shut down with brake.

If this fault occurs, a Beckman trained and experienced expert will make it a point to check the drive, drive oil, drive fans, and the drive control system of the ultracentrifuge.

Read More

Beckman Coulter Optima Ultracentrifuge Installation Procedure

Service AI

For electrical installation and checkup as mentioned below, always involve a certified electrician for power requirements. We also strongly recommend that a trained engineer install and check out your Beckman Coulter Optima L ultracentrifuge, and train your staff on the proper usage of the ultracentrifuge and rotors prior to use.

Read More

Is your Beckman Coulter LS6500 failing efficiencies?

Service AI

Check the following:

  1. Inspect the sample vials to ensure they are securely sealed.

  2. Ensure the instrument is calibrated and set up properly.

  3. Verify that you have accurately corrected for decay using the Half-life Tables, and that your computations are correct.

  4. Replace LS6500 Elevator Cap.

  5. Inspect the detector reflector housing. If it looks dirty, replace the reflector housing.

Read More

Resolving the 'H# Abort: Count Rate Too Low' Error on Your LS 6500

Service AI

Even though the H# value is counted by the Cs137 source drive, the cause for this failure could be because of a problem with the front end of the electronics, which consists of the PMTs, pre-amp housing assembly, or the high voltage power supply. Of course the problem could be with the Cs137 source drive itself as well.

Read More
Official   PayPal Seal